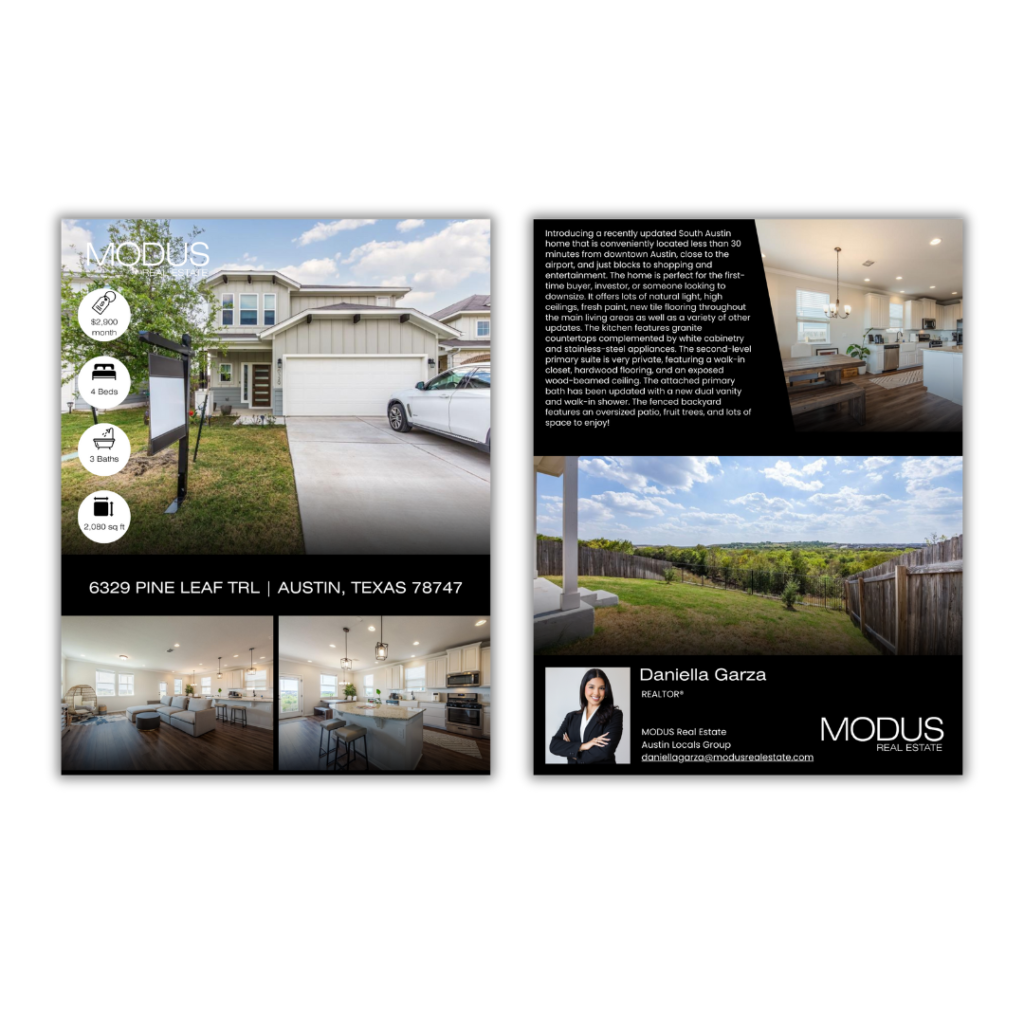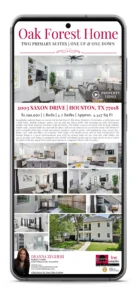
Creating an effective real estate flyer is an essential part of marketing a property and attracting potential buyers. Here’s a step-by-step guide on how to make a professional and eye-catching real estate flyer:

Step 1: Gather Information
Before you start designing your flyer, gather all the necessary information about the property and any specific details you want to highlight. This may include property photos, property details, pricing, contact information, and any unique selling points.
Step 2: Choose a Design Tool
There are various design tools and software available to create flyers. Some popular options include Adobe InDesign, Canva, Microsoft Word, or even a basic image editing software like Adobe Photoshop. Choose a tool that you’re comfortable with and that provides the features you need.
Step 3: Select a Template or Layout
Most design tools offer pre-designed templates for real estate flyers. These templates are a great starting point and can save you a lot of time. Select a template that suits your property and your branding. Make sure it has placeholders for photos and text.
Step 4: Add Photos
High-quality photos are crucial for real estate flyers. Use the best images of the property that you have available. Make sure the photos are well-lit and showcase the property’s best features. Add these photos to the designated spaces in your flyer template.
Step 5: Write Compelling Copy
Write engaging and concise copy for your flyer. Highlight the property’s key features, such as the number of bedrooms and bathrooms, square footage, unique amenities, and the property’s location. Include a compelling headline that draws the reader in. Use bullet points for easy readability. You can utilize Chat GPT as a resource to help you write an intriguing property description.
Step 6: Include Contact Information
Provide your contact information prominently on the flyer. Include your name, phone number, email address, and any social media or website links. Ensure that potential buyers can easily reach out to you with inquiries.
Step 7: Pricing Information
Clearly state the price of the property. If there are any special terms or offers, include those as well. You can use a larger font or a different color to make the price stand out.
Step 8: Highlight Unique Selling Points
What makes this property special? Is it the location, a unique feature, or an attractive price point? Highlight these unique selling points in your flyer to capture the attention of potential buyers.
Step 9: Design and Branding
Customize the design to reflect your branding and the property’s style. Use your logo, color scheme, and fonts that are consistent with your overall brand. Make sure the design is clean, professional, and visually appealing.
Step 10: Proofread and Review
Before finalizing your real estate flyer, proofread all the text for spelling and grammatical errors. Review the overall design to ensure that all elements are aligned and visually pleasing.
Step 11: Printing and Distribution
Once you’re satisfied with your real estate flyer, save it in a high-quality format (PDF is often a good choice for printing). You can then print copies using a professional printer or a local print shop. Additionally, consider creating a digital version for online marketing and social media.
Step 12: Promote and Distribute
Distribute your real estate flyer in various ways, such as through direct mail, at open houses, in local businesses, or through digital channels like email and social media. Make sure it reaches your target audience effectively.
Remember that the quality of your real estate flyer can significantly impact the impression potential buyers have of the property and your services as an agent. A well-designed and informative flyer can make a big difference in attracting interested parties and closing a successful deal.
