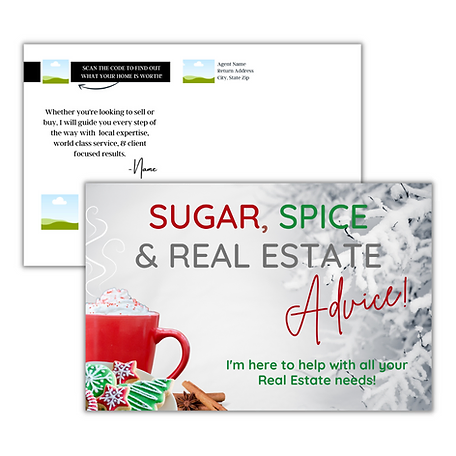
Real Estate Presentations can be a powerful tool to showcase your services, highlight property listings, and establish credibility with potential clients. Canva, a user-friendly graphic design platform, offers a range of features that can help real estate professionals create captivating and personalized presentations. In this guide, we’ll explore how you can leverage Canva to develop customized presentations that leave a lasting impression.

1. Set Up Your Canva Account
To get started on your Real Estate Presentations, sign up for a free Canva account at www.canva.com if you haven’t already. Canva provides a variety of presentation templates that you can use as a foundation for your real estate presentations. Once logged in, navigate to the template gallery and select the “Presentations” category to explore the available options.
2. Choose the Right Template
Browse through Canva’s extensive collection of presentation templates and choose one that aligns with your presentation goals and style preferences. Canva offers templates for different presentation formats, including pitch decks, client meetings, and property showcases. Select a template that provides a visually appealing layout while allowing flexibility for customization.
3. Customize Your Presentation
Once you’ve selected a template, personalize it to suit your specific needs. Incorporate your branding elements such as your logo, color scheme, and font choices to maintain consistency with your real estate business. Insert high-quality images of properties, market trends, and client testimonials to make your presentation more engaging and informative.

4. Incorporate Visual Aids and Data
Enhance your presentation with visual aids such as charts, graphs, and infographics to convey complex information effectively. Canva’s drag-and-drop interface makes it easy to integrate data visualizations into your slides. Use visuals to illustrate market statistics, property comparisons, and investment opportunities to captivate your audience.
5. Organize Content Strategically
Structure your presentation in a logical sequence to ensure clarity and flow. Use Canva’s editing tools to arrange text, images, and graphics in a visually appealing manner. Divide your presentation into sections (e.g., About Me, Services Offered, Property Listings, Success Stories) to guide your audience through key points seamlessly.
6. Add Interactive Elements
Incorporate interactive elements such as clickable buttons, embedded videos, or hyperlinks to external resources to enrich your presentation. Canva supports interactive features that can enhance engagement and provide additional context to your content.
7. Review and Finalize
Before finalizing your presentation, review each slide for accuracy, consistency, and visual appeal. Make necessary adjustments to optimize the overall design and ensure a polished finish. Once satisfied, download the presentation in a format suitable for your presentation environment (e.g., PDF, PowerPoint) and prepare for delivery.
8. Deliver with Confidence
Armed with your customized Canva presentation, deliver your pitch or showcase with confidence. Use your presentation as a visual aid to convey your expertise, showcase property listings, and demonstrate the value you bring to your clients. Engage with your audience, address questions, and leave a lasting impression that encourages follow-up and further engagement.
By leveraging Canva’s intuitive design tools and versatile templates, real estate professionals can create impactful presentations that resonate with clients and prospects. Whether you’re pitching to potential buyers, conducting client meetings, or showcasing property portfolios, Canva offers the flexibility and creativity to elevate your real estate presentations.


